Meng British R-r Armored Car Pattern 1914/1920 Review
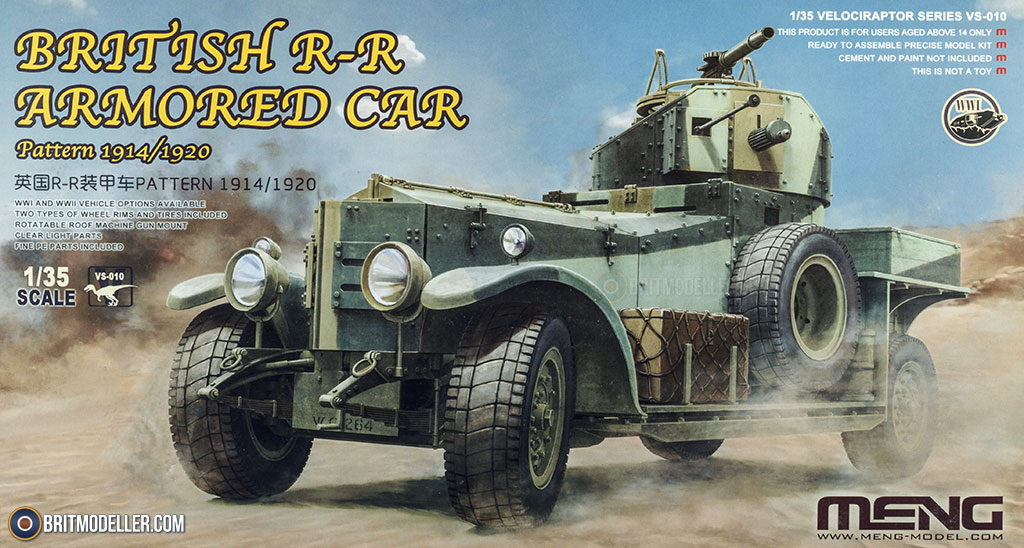
British R-R Armoured Car 1914/1920 design (VS-010)
1:35 Meng Model via Creative Models Ltd.
Every bit a precursor to tanks, the Admiralty were casting around for armoured protection for vulnerable patrolling soldiers, although as tanks originated as "country ships", perhaps this was an extension of their thinking. They took a minor sample of unfinished Argent Ghost chassis and designed the superstructure to comprehend the engine and crew, calculation a circular turret that held a motorcar gun and could rotate fully – an idea that predates the early tanks, which makes one wonder why these didn't brand an appearance sooner in British tanks. They were used briefly on the Western Front in the Heart East and afterwards WWI ended, they were handed over to the other services and reinvigorated in 1920 to add together an extra Lewis gun on the top of the turret to augment the Vickers .303 and a new Boyes anti-tank rifle to give them a fair gamble if they encountered any enemy armour. Later on a cupola was added for the commander, and after the replacement of the ageing RR engine with a Fordson unit, information technology was renamed as the Fordson Armoured Car.
Fewer than 100 vehicles were even so in service early in WWII and they took function in some operations before being withdrawn in 1941 as they were hopelessly outdated by then.
The Kit
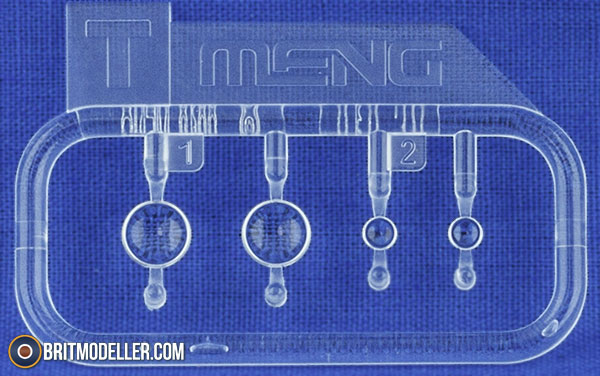
This is a brand-new tooling from Meng, and as a modeller with an interest in the one-time RR, I'm happy to put my old kit from another manufacturer to the back of the stash. It arrives in a smaller-than-normal both with satin finish and the usual high standard of artwork on the front, with four sprues in sand-coloured styrene plus torso and turret shells in the same colour. Half-dozen black flexible tyres, four poly-caps on a tree, a small sprue of clear parts and a fair-sized fret of Photograph-Etch (PE) parts made from thick contumely that will be used to depict spokes if you lot're modelling a decal option with wire wheels. The decal sail is mostly roundels plus a few other stencils and unit markings, and the instructions with separate colour painting guide complete the package.

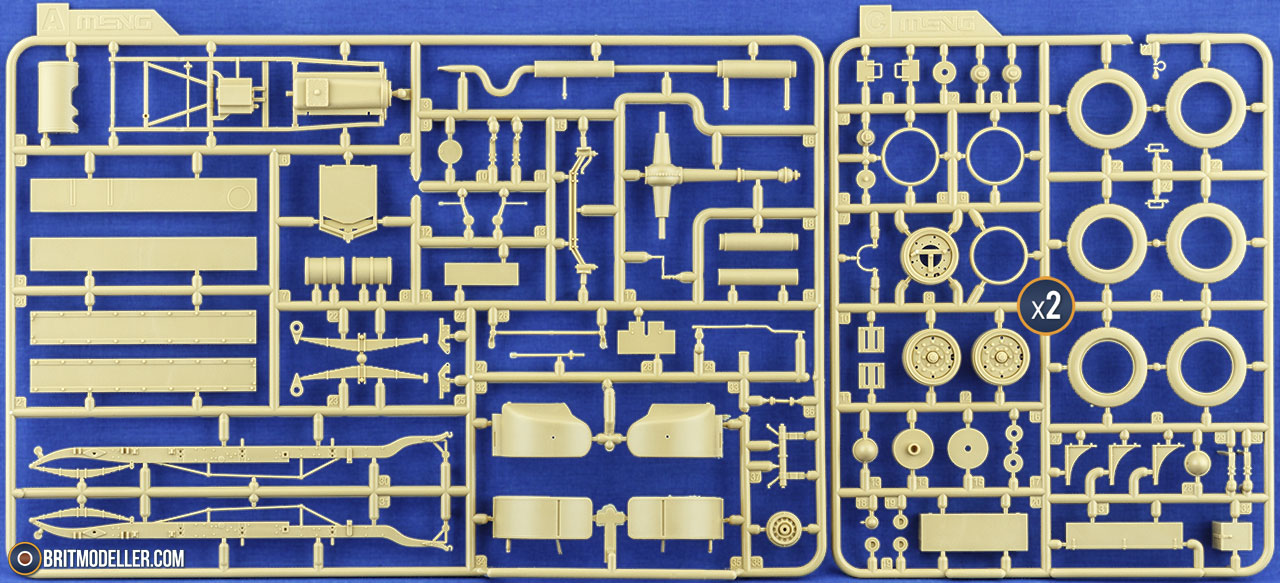
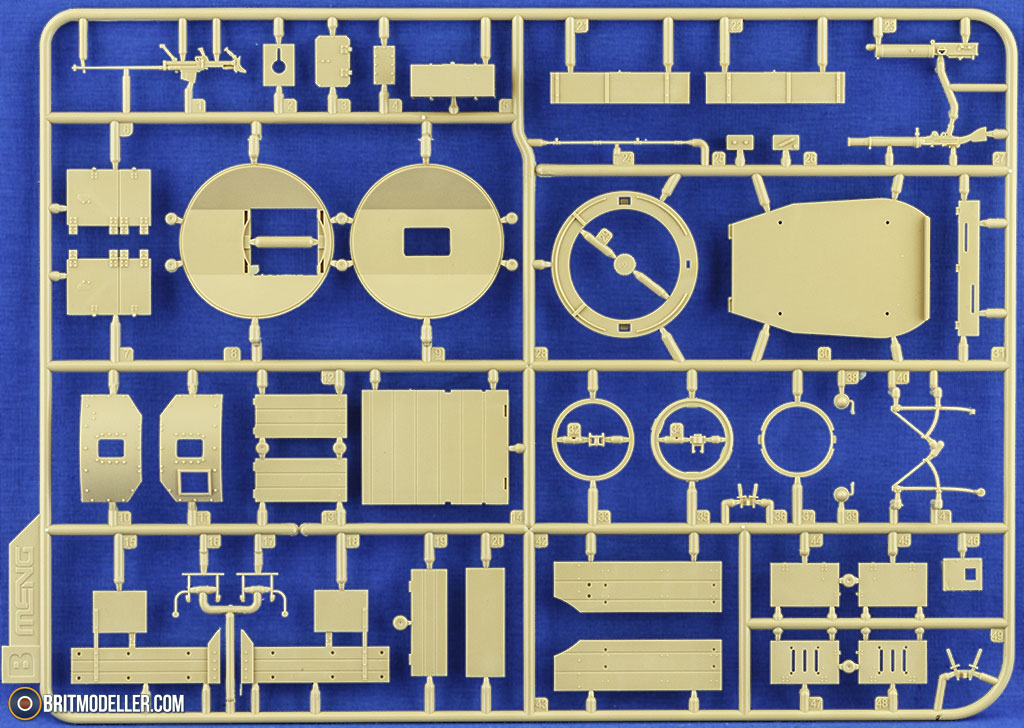
Construction begins with a determination over which decal option you plan on building, as there are some differences between the equipment carried, then knowing where you lot're going now will help prevent mistakes afterward. The chassis is first to exist fabricated, and a cardinal sub-frame that depicts the underside of the engine onto which the outer rails are fixed, trapping the fuel tank and forepart brace between them, then joined by front beam, long frazzle with 2 mufflers and a flared tip, and 3 brackets each side on the chassis rails. The clutch is fastened to the rear of the engine and that leads to the drive-shaft for the rear axles that is controlled by being slipped into holes in the ends of the rear inverted leaf-springs. That's most of the Rolls-Royce chassis washed, so attention moves to the superstructure, which is already well defined by the unmarried hull part, which has the rear doors and the radiator front end at the end of the long bonnet/hood. The floor of the trunk is joined with the chassis and hull, then a wooden palette is installed in the rear, then built-upwardly with shallow sides and brackets for stowage boxes that are made up and glued in identify during the construction. Further armour panels are arranged around the fuel tank for obvious reasons, and minor stowage boxes are fitted in the outside corners. A different blazon of long stowage boxes are also provided with a simplified structure and no grab-handles. At the front end, Starter-handle, armoured radiator panels, mudguards and lights with clear lenses are all fixed in place, and the running boards are made up with more than storage and small butt on the port side, plus unditching ramps on both sides.
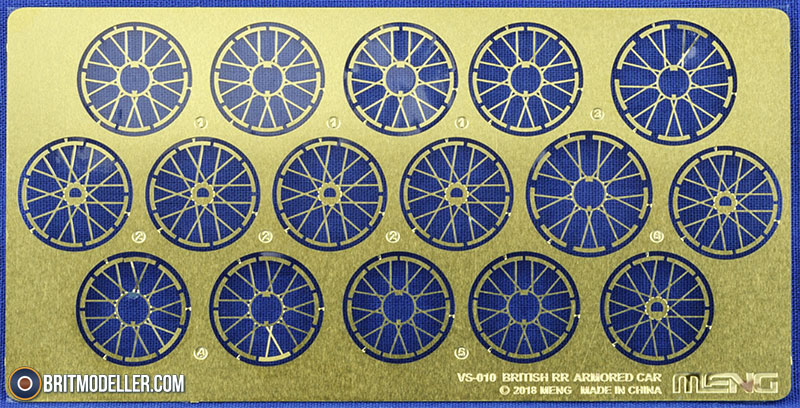
There are two styles of wheels supplied in the box, with the wire wheels being the most notable due to their clever PE spokes that are joined together at the rim and spaced out in the centre with a poly-cap hidden in the eye to achieve the correct dish to the spokes. Each sub-assembly is then sandwiched between ii styrene one-half-tyres at the forepart and for the spare, but with two rim parts keeping the rear wheel spokes in place within a single outer tyre (once more, styrene), using two on each side to give information technology the weight bearing capability. The more than modern flexible tyres are used in conjunction with stamped rims that slip inside them and have the poly-caps held within the bearing by a modest cap. Because of the wider tyres used, there are but iv wheels on the ground with just a brake drum differentiating the rears from the front. The road wheels slide onto the axles while the spare fits onto a low in the port side that mates with the T-shaped hanger.
The shallow turret is where the rest of the differences arise, and it begins with the base and the C-shaped turret side that is completed by adding the front with the aperture for the Vickers MG, clipping into a simple mount and gluing into the ring. For the early machines the roof and hatch finish information technology off, but for the modernised vehicle, a unlike front section is used with an boosted discontinuity for the Boyes anti-tank burglarize carried in decal option C. The rifle is a single well-detailed office that slides into place and is boxed in by a small cheek piece. The top Lewis gun is attached to a two-part mount, which rotates on a 3-piece ring that is assembled so that it tin traverse by leaving the centre part unglued. A "dinner-plate" magazine fits on top of the gun, and a modest mantlet slips over the Vickers gun in the turret. The turret attaches to the hull by the usual bayonet machinery, which completes the model.
Markings
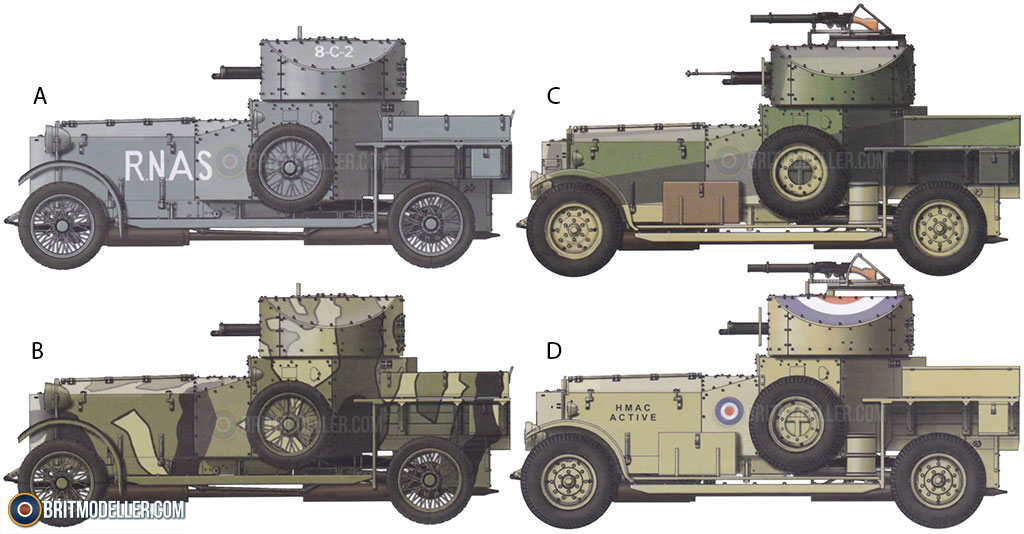
At that place are four markings options on the decal canvas, split between 1914 and 1920 pattern vehicles with a nice variation in schemes that include two monotone vehicles and two with dissimilar types of cover-up. From the box you can build one of the following:
- Pattern 1914, Western Front end, WWI, 1916
- Design 1914, WWI
- Patern 1920, RAF Egypt, 1942
- Pattern 1920, RAF
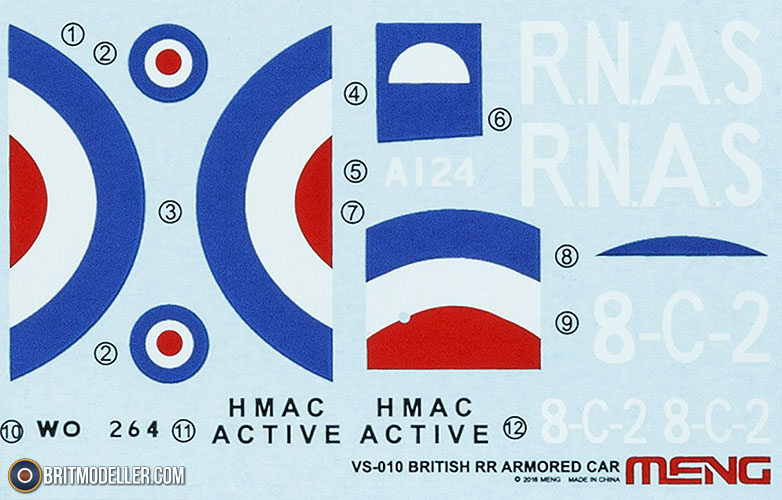
Decals are printed in People's republic of china and take good registration, sharpness and colour density, with a sparse satin carrier pic cutting close to the printed areas.
Determination
Lovely! I'd accept liked a total engine, but in fairness how many people would have posed those cowlings open? Not many I suspect. Excellent detail, good wide spread of decal options, and Meng quality throughout.
Very highly recommended.

Review sample courtesy of
![]()
Source: https://www.britmodeller.com/forums/index.php?/topic/235070594-british-r-r-armoured-car-19141920-pattern-vs-010-135/
0 Response to "Meng British R-r Armored Car Pattern 1914/1920 Review"
Post a Comment